How do I build a worm farm for vermicomposting at home?
Harnessing the industrious nature of worms can transform your household waste into garden gold. By creating your own vermicomposting system at home, you’ll not only reduce your environmental footprint but also produce nutrient-rich fertilizer for your plants. Building a worm farm is a straightforward project that requires minimal materials and space, making it perfect for both apartment dwellers and homeowners. In this guide, you’ll learn how to construct an efficient worm composting system that turns your kitchen scraps into valuable, organic compost.
Essential Components and Materials
Before starting your worm farm project, you’ll need to gather specific materials and components. The success of your vermicomposting system depends on creating the right environment for your worms to thrive. Your setup will require a suitable container, appropriate bedding materials, and the correct species of composting worms.
Choosing the Right Container
Materials for your worm bin can range from purpose-built systems to DIY containers. You’ll need a dark, well-ventilated bin with drainage holes and a depth of 8-12 inches. Your container should be made of plastic, wood, or metal, and sized according to your household’s food waste output – typically one square foot per pound of weekly waste.
Bedding Materials
Any carbon-rich materials can serve as bedding for your worm farm. You can use shredded newspaper, cardboard, dried leaves, coconut coir, or straw. Your bedding should be damp but not soaking wet, with a moisture content similar to a wrung-out sponge.
The bedding in your worm farm serves multiple purposes: it provides a comfortable habitat, helps regulate moisture, and offers additional food for your worms. You’ll need to maintain a bedding depth of 4-6 inches and replace it periodically as the worms process it into vermicompost.
Worm Species Selection
Little red wigglers (Eisenia fetida) are your best choice for vermicomposting. These worms are efficient composters, adapt well to captivity, and reproduce quickly in the right conditions. You’ll need about one pound of worms for every square foot of surface area in your bin.
Container worms differ from common garden earthworms in their behavior and composting efficiency. Your red wigglers will process organic waste faster and tolerate higher population densities than other species. You can purchase them from reputable suppliers or local worm farmers, ensuring you start with healthy specimens for your vermicomposting journey.
Setting Up Your Worm Farm
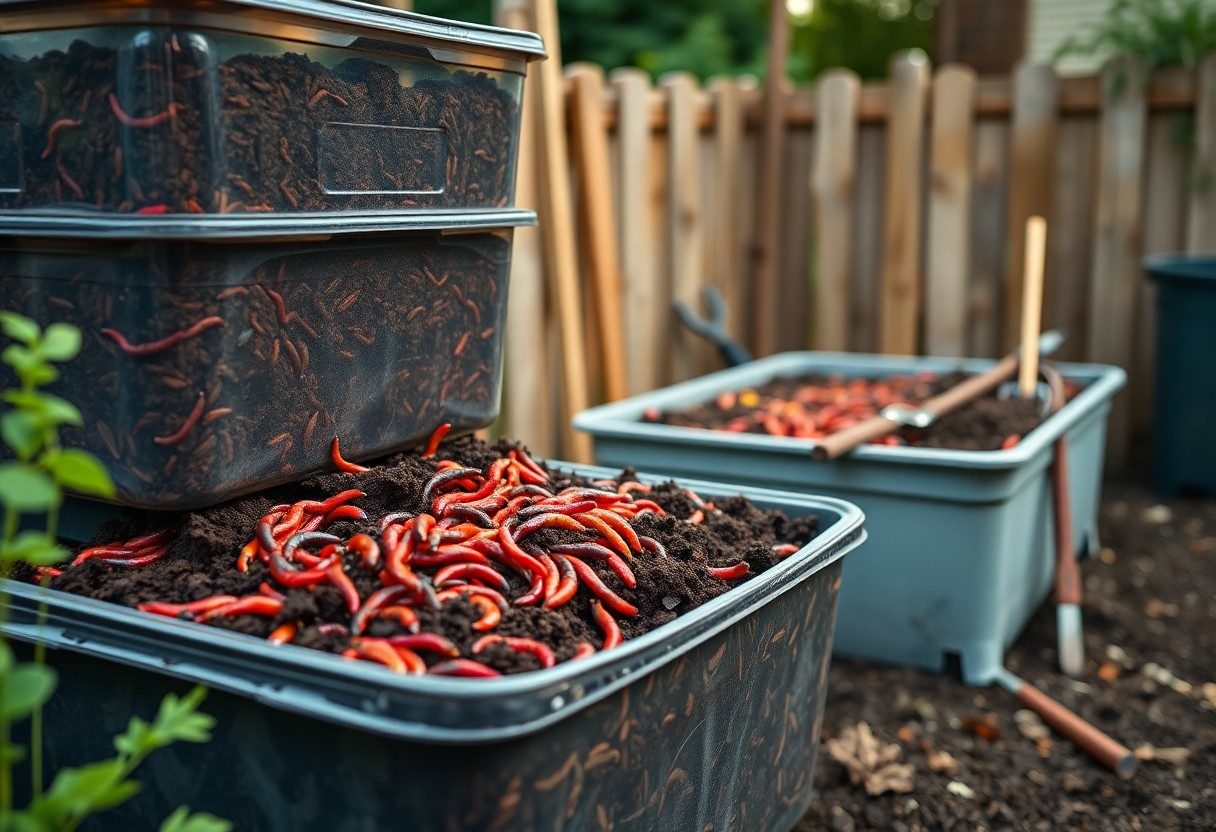
Any container can serve as your worm farm, but plastic bins with drainage holes work best. You’ll need a system with multiple layers: a bottom tray for collecting liquid, a middle layer for composting, and a top layer for feeding. Your container should be at least 8-12 inches deep with a secure lid to maintain darkness and prevent pests.
Location and Environmental Conditions
If you want your worms to thrive, place your farm in a sheltered spot with consistent temperatures between 55-77°F (13-25°C). Your garage, basement, or a shaded outdoor area can work well. Keep the bin away from direct sunlight and extreme weather conditions, maintaining moisture levels similar to a wrung-out sponge.
Preparing the Bedding
There’s a variety of materials you can use for bedding: shredded newspaper, cardboard, dried leaves, or coconut coir. Your bedding should be damp but not soaking wet, filling about one-third of your container. Mix in a handful of garden soil or sand to help with the worms’ digestion.
Farm preparation requires proper bedding depth of 4-6 inches. You’ll want to tear your paper products into 1-inch strips and soak them before adding to the bin. The bedding provides both food and shelter for your worms, so ensure it’s properly moistened and fluffed to create air pockets.
Adding Worms and Initial Food
Food scraps should be buried under the bedding in different spots when you first add your worms. Start with about 1,000 red wigglers for a typical home system. Give your worms 24-48 hours to settle into their new environment before adding more food.
Plus, you’ll need to monitor your worms’ adjustment period closely. Spread them gently across the surface and let them burrow naturally. Your initial feeding should be light – about a cup of food scraps for every pound of worms. Watch how quickly they consume the food to gauge future feeding amounts.
Feeding and Maintenance
Keep your worm farm healthy and productive by following proper feeding and maintenance routines. Your worms need the right balance of food, moisture, and care to thrive and efficiently process organic waste into valuable vermicompost. Regular monitoring and adjustments will ensure optimal conditions for your worm population.
Suitable Food Materials
Any fruit and vegetable scraps, coffee grounds, tea bags, crushed eggshells, and shredded paper make excellent worm food. You should avoid meat, dairy, oily foods, citrus fruits, onions, and garlic, as these can harm your worms or create unpleasant odors. Cut larger food scraps into smaller pieces to help worms process them more efficiently.
Feeding Schedule
Materials should be added to your worm farm every 3-5 days, depending on your worm population and how quickly they process food. You’ll need to monitor consumption rates and adjust portions accordingly. Start with small amounts until you understand your worms’ eating patterns.
With regular observation, you’ll notice that worms consume approximately half their body weight in food daily. When adding new food, bury it under existing bedding in different areas of the bin to prevent attracting pests and maintain proper air circulation. If you notice uneaten food accumulating, reduce the feeding amount until the worms catch up.
Moisture Management
You need to maintain proper moisture levels in your worm farm, aiming for the consistency of a wrung-out sponge. Check moisture levels weekly by gently squeezing a handful of bedding – if only a few drops come out, the moisture level is ideal.
Suitable moisture management involves regular monitoring and adjustments. If the bedding becomes too dry, spray it lightly with water or add moistened bedding materials. If it’s too wet, add dry bedding materials like shredded paper or cardboard. Good drainage and proper ventilation help prevent excess moisture buildup while maintaining optimal conditions for your worms.
Harvesting and Using Vermicompost
Many worm farmers find harvesting vermicompost to be the most rewarding part of the process. Your worm farm will produce nutrient-rich castings that can transform your garden’s health. With proper timing and collection methods, you can harvest this black gold efficiently while maintaining your worm population.
When to Harvest
Some clear signs tell you when your vermicompost is ready for harvest. Look for dark, coffee-ground-like material that fills most of your bin, with few visible food scraps remaining. This typically occurs every 3-4 months, depending on your bin size and worm population.
Collection Methods
On harvest day, you can choose from several effective methods to separate worms from castings. The most popular approaches include the light method, where you expose the contents to bright light, causing worms to move downward, and the pyramid method, where you create small piles of compost.
Collection can be made easier by stopping feeding for 2-3 weeks before harvest. This encourages worms to process all remaining food. You can then use a mesh screen to sift the castings, or simply move the contents to one side of your bin and add fresh bedding to the other side, allowing worms to migrate naturally.
Using Worm Castings
Vermicompost can be used immediately in your garden or stored for later use. Mix it into your potting soil at a ratio of 1:4, use it as a top dressing for houseplants, or brew it into a nutrient-rich tea for your plants.
Methods of application vary depending on your gardening needs. For seedlings, mix 25% castings into your starting soil. For established plants, spread a 1/2 inch layer around the base. You can also create worm tea by steeping one cup of castings in a gallon of water for 24 hours, then using it to water your plants or as a foliar spray.
Troubleshooting Common Issues
To maintain a healthy worm farm, you’ll need to address various challenges that may arise during your vermicomposting journey. Being prepared for common issues will help you maintain optimal conditions for your worms and ensure successful composting. Here’s how to tackle the most frequent problems you might encounter.
Pest Control
To keep unwanted visitors away from your worm farm, maintain proper moisture levels and avoid overfeeding. Cover food scraps with bedding material, and remove any moldy or rotting food. If you notice fruit flies or other insects, reduce the amount of food you’re adding and ensure your bin has adequate drainage.
Odor Management
To prevent unpleasant smells in your worm farm, maintain a balanced carbon-to-nitrogen ratio by mixing food scraps with dry bedding materials. Avoid overfeeding your worms and ensure proper aeration by regularly fluffing the bedding.
Common causes of bad odors include excessive moisture, anaerobic conditions, or too much nitrogen-rich material. If you detect any foul smells, add more carbon-rich materials like shredded paper or dried leaves, improve drainage, and reduce feeding until conditions improve.
Population Problems
There’s a delicate balance to maintain when it comes to worm population in your farm. If you notice your worms trying to escape or their numbers declining, it could indicate unsuitable conditions such as incorrect pH levels, temperature extremes, or improper moisture content.
Troubleshooting population issues starts with checking your bin’s conditions. If your worm population is decreasing, assess the temperature (ideal range is 55-77°F), ensure proper moisture (like a wrung-out sponge), and verify that you’re not overfeeding. If the population is growing too quickly, consider harvesting some worms for a new bin or sharing with other vermicomposters.

Step-by-Step Assembly Tutorial
Your worm farm assembly requires careful planning and the right materials. Here’s a comprehensive guide to help you create an efficient vermicomposting system at home.
| Primary Items | Tools Needed |
| 2-3 plastic bins Newspaper/cardboard Organic waste Red wiggler worms |
Power drill 1/4 inch drill bit Scissors Spray bottle |
Drill Drainage Holes
For proper drainage, drill 15-20 quarter-inch holes in the bottom of your top bin. Space them evenly, about 2 inches apart. Add similar holes around the upper edges of the bin for ventilation.
Layer Bedding Materials
To create ideal bedding, shred newspaper or cardboard into 1-inch strips and layer them at the bottom of your bin. Moisten the bedding until it feels like a wrung-out sponge.
For instance, you can alternate layers of brown materials like paper with green materials such as coffee grounds or vegetable scraps. This combination provides balanced nutrition and proper moisture retention for your worms.
Add Worms and Food
Tutorial continues with adding 1 pound of red wiggler worms to your prepared bedding. Gently spread them across the surface and cover with a thin layer of moist newspaper. Add a small amount of food scraps in one corner.
The worms will need time to adjust to their new environment. Start feeding them small amounts of kitchen scraps every 2-3 days. You can gradually increase the amount as you observe how quickly they process the food.
Summing up
With these considerations, you can now confidently build your own worm farm for successful vermicomposting at home. By selecting the right container, creating proper bedding, maintaining optimal moisture levels, and introducing your worms to a balanced diet of kitchen scraps, you’ll establish a thriving ecosystem. Your attention to temperature control and regular monitoring will ensure your worm population flourishes. This sustainable approach to waste management will reward you with nutrient-rich vermicompost for your garden while reducing your household’s environmental impact.