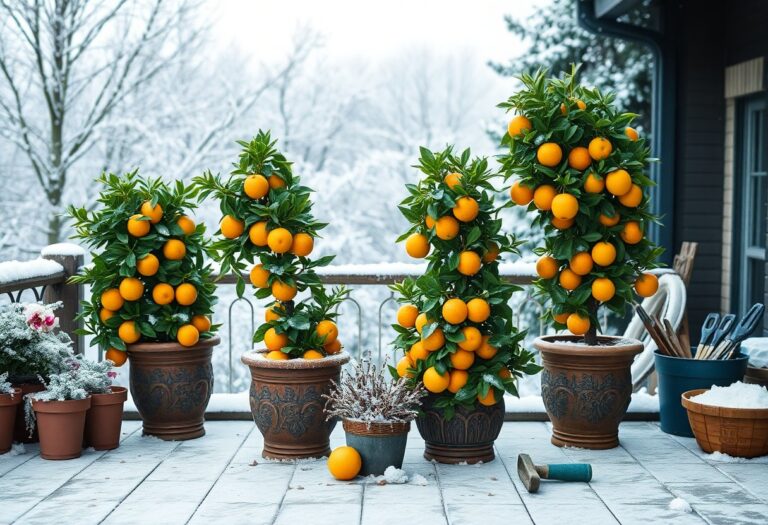
What are the best tips for repotting root‑bound plants in containers?
Overtime, your container plants can become root-bound, forming a dense mass of roots that circle the pot’s interior. When you notice roots growing through drainage holes or pushing the plant up, it’s time to take action. Moving your plant to a larger container isn’t just about giving it more space – it’s about ensuring your green friend continues to thrive. In this guide, you’ll learn the vital techniques for safely repotting root-bound plants while minimizing transplant shock and promoting healthy new growth.
Understanding Root-Bound Plants
A root-bound condition occurs when your plant’s roots have completely filled their container, forming a dense mass that circles the pot’s interior. This happens when plants outgrow their containers, forcing roots to wrap around themselves in search of space and nutrients. Understanding this common issue helps you maintain healthier plants and determine the right time for repotting.
Signs of Root-Bound Plants
Plants show clear indicators when they’ve become root-bound in their containers. You might notice roots growing through drainage holes, pushing up through the soil surface, or creating a visible spiral pattern. Other signs include stunted growth, yellowing leaves, and soil that dries out quickly after watering. Your plant may also appear lifted or pushed up from its original planting depth.
Impact on Plant Health
To maintain optimal plant health, you need to address root-bound conditions promptly. When roots become tightly bound, your plant struggles to absorb water and nutrients effectively, leading to poor growth and potential decline. This restricted root system can cause your plant to become unstable, dehydrated, and more susceptible to disease.
Understanding the long-term effects of root-bound conditions helps you prevent permanent damage to your plants. If left untreated, your plants may experience root death, reduced flowering, leaf drop, and eventual failure to thrive. By monitoring root growth and repotting when necessary, you can ensure your plants maintain healthy root systems and continue to grow vigorously.

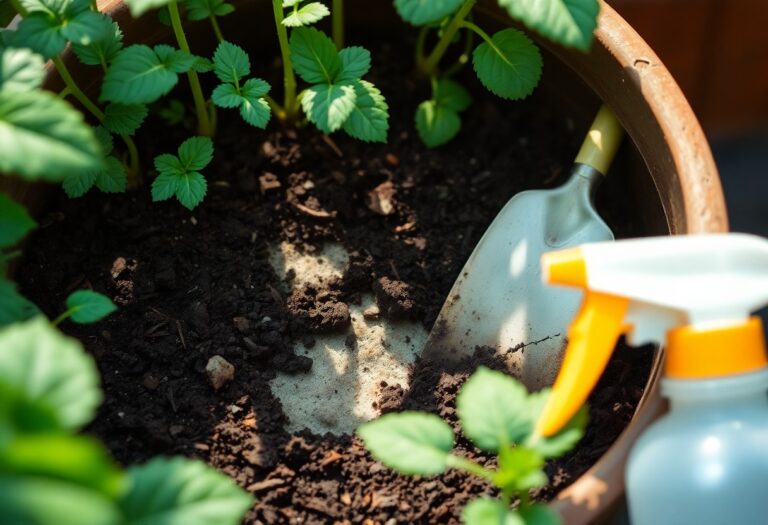
Essential Tools and Materials
There’s no need to overcomplicate your repotting toolkit. You’ll want clean, sharp pruning shears for trimming roots, a trowel for soil work, and a clean workspace with newspaper or a tarp to catch spills. Keep a water spray bottle handy to moisten roots, and wear gardening gloves to protect your hands during the process.
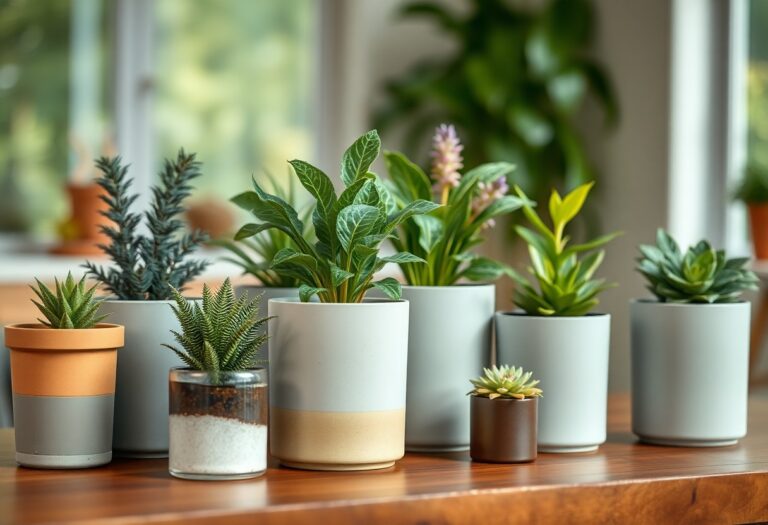
Container Selection
Clearly, selecting the right container makes all the difference in your plant’s growth. Choose a pot that’s 2-3 inches larger in diameter than the current one, ensuring it has adequate drainage holes. Your new container should match your plant’s needs – consider depth for deep-rooted plants and width for spreading varieties.
Soil and Amendments
Now it’s time to focus on your growing medium. Select a high-quality potting mix suited to your specific plant type. You’ll want to enhance drainage and aeration by incorporating perlite or coarse sand, while adding organic matter like compost improves nutrient content.
Another key aspect of soil preparation is achieving the right moisture retention balance. You can customize your mix by adding coconut coir to help retain moisture, or extra perlite if your plant prefers drier conditions. Mix your amendments thoroughly before filling the new container to ensure even distribution throughout the growing medium.
Step-by-Step Repotting Process
Even the most root-bound plants can thrive after proper repotting when you follow a systematic approach. Your success depends on timing and technique, ensuring your plant transitions smoothly to its new container.
| Tools | Materials |
| Pruning shears Clean scissors Garden trowel Work gloves |
Fresh potting mix New container Water Drainage materials |
Preparation Steps
While timing varies by species, you’ll want to prepare your workspace by gathering all materials beforehand. Your new pot should be 1-2 inches larger in diameter than the current one, with proper drainage holes. You’ll need to pre-moisten your potting mix and ensure your tools are clean to prevent contamination.
Removal and Root Treatment
There’s a specific technique to removing a root-bound plant from its container. You’ll need to gently squeeze the pot’s sides, turn it sideways, and carefully slide out the root ball. If the roots resist, tap the pot’s bottom or run a knife around the inside edge.
Treatment of the root ball requires your careful attention. You’ll need to loosen the outer roots with your fingers, prune any dark or mushy roots, and gently tease apart the bottom roots. This process encourages new growth and helps your plant establish itself in its new container.
Best Practices and Tips
Not all root-bound plants require immediate repotting, but when you notice signs like slow growth or water pooling on the soil surface, it’s time to act. Here are vital guidelines to ensure successful repotting:
- Choose a container 2-3 inches larger in diameter
- Use fresh, well-draining potting mix
- Gently loosen the root ball before replanting
- Position the plant at the same depth as before
Any mistakes during repotting can stress your plant, so follow these steps carefully for the best results.
Timing Considerations
Practices show that spring and early summer are your ideal times for repotting, as plants enter their active growth phase. You’ll find your plants adapt better to their new containers during these seasons, with reduced shock and faster recovery. Your indoor plants can be repotted year-round if necessary, but avoid repotting during extreme temperature conditions.
Watering Guidelines
Assuming you’ve just repotted your plant, wait 24 hours before the first thorough watering. You’ll need to monitor soil moisture more frequently in the first two weeks as your plant establishes itself in the new container. Your watering schedule should adjust to the larger pot size and fresh soil conditions.
For instance, your newly repotted plant might need less frequent but deeper watering than before. You can test soil moisture by inserting your finger about an inch deep – if it feels dry at that depth, it’s time to water. Your plant will signal when it’s adapting well through new growth and stable soil moisture levels.

Common Mistakes to Avoid
Keep in mind that successful repotting requires attention to detail and proper technique. Rushing the process or overlooking necessary steps can harm your plant’s health and growth potential. By understanding common pitfalls, you can ensure a smooth transition for your root-bound plants into their new containers.
Container-Related Issues
Issues often arise when you select containers that are too large or lack proper drainage holes. Moving to a pot more than 2 inches larger than the current one can lead to overwatering and root rot. You should also avoid containers with smooth, straight sides that make future repotting difficult.
Soil and Root Management Errors
ContainerRelated problems frequently occur when you don’t properly prepare the root ball or use inappropriate potting mix. Failing to loosen bound roots, not removing dead root material, or using garden soil instead of quality potting mix can stunt your plant’s growth and lead to drainage issues.
Mistakes in soil and root management can have long-lasting effects on your plant’s health. When you skip proper root pruning, the roots continue their circular growth pattern, limiting nutrient uptake. Using compacted or water-retaining soil can suffocate roots and create favorable conditions for fungal diseases. Your plant needs well-draining, nutrient-rich potting mix and carefully loosened roots to thrive in its new home.

Aftercare and Maintenance
Once again, your newly repotted plant needs time to adjust to its fresh environment. The first few weeks are necessary for establishing strong roots and preventing transplant shock. Keep the soil consistently moist but not waterlogged, and place the plant in a location with appropriate light conditions for its specific needs. Monitor your plant closely during this transition period to ensure successful establishment in its new container.
Post-Repotting Care
You should maintain stable conditions for your plant during the first 2-3 weeks after repotting. Water thoroughly but gently, and avoid fertilizing immediately. Keep the plant away from direct sunlight and strong drafts. If you notice any wilting, provide light shade and maintain higher humidity by misting the leaves. This gentle approach helps your plant recover from the stress of repotting.
Monitoring Plant Health
Plant recovery signs include new growth, stable leaf color, and soil that retains proper moisture levels. Watch for yellowing leaves, root rot, or unusual wilting, as these may indicate problems with drainage or watering. Your repotted plant should show signs of revival within 2-4 weeks.
To effectively track your plant’s progress, check the soil moisture with your finger every few days, observe leaf firmness, and look for new growth points. Take photos weekly to compare changes, and adjust watering frequency based on how quickly the soil dries. If you notice any decline, assess the drainage, light exposure, and watering schedule to make necessary adjustments.
Final Words
Taking this into account, your success in repotting root-bound plants depends on timing and technique. You’ll achieve the best results by repotting during the growing season, using a container that’s 2-3 inches larger than the current one. Your plant will thrive when you gently loosen the root ball, trim damaged roots, and place it in fresh, well-draining potting mix. By maintaining proper watering after transplanting and positioning your plant in an appropriate location, you’ll help it overcome transplant shock and establish itself in its new home.